
Story of a Shade
The Victorian Lampshade workshop, currently being offered as a Level 2 lampshade making workshop has been so popular that I have tweaked the style slightly so that Level 1 students can also be successful. This is the story of the lampshade made as this workshops sample.

The Story of a Shade
The Victorian Lampshade workshop, currently being offered as a Level 2 lampshade making workshop has been so popular that I have tweaked the style slightly so that Level 1 students can also be successful. This is the story of the lampshade made as this workshops sample.
There’s nothing more historically beautiful than a Victorian lampshade. In my opinion! One lampshade can step a space back in time and embrace the elegance of the Victorian era. A classic soft lampshade, complete with vintage inspired fabrics, hand stitching and finishing techniques that capture the charm of a bygone era.
The Brief
This is the story of a lampshade destined to be a Level 1 Victorian lampshade sample for workshops. Victorian lampshades like other Victorian soft furnishing were elaborate, flamboyant and full of frills, ruffles, gathers and pleats. An abundance of colour, texture and complex design. Making a professional Victorian lampshade takes patience and time. The level 2 workshop includes an array of lampshade making techniques. Including how to creating a pattern from a lampshade frame, classic tailoring, understanding how tension affects gathering and pleating fabric, making bias trimmings, adding drop down trimmings and constructing a balloon lining on a complex frame structure.
How could I simplify all this so that Level 1 students could also be successful?
The Process

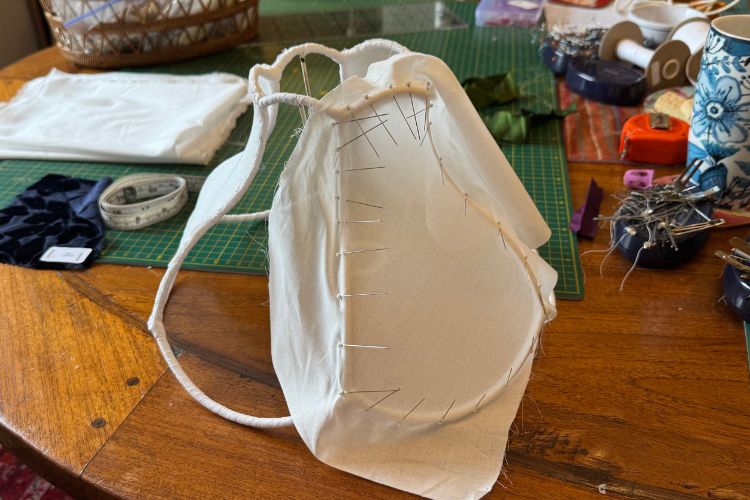
First of all, I would limit the number of panels to 6 or 8. All panels being the same shape. There would be no balloon lining, as the additional skills and techniques for making a balloon lining would take too long to cover. If you are interested in how to make a balloon lining this is cover in detail during the Classic Tailored lampshade workshop. All parts of the frame that will be stitched to need to be wrapped. This means that the whole frame would need to be wrapped. The order of wrapping being an essential part of the process so that there is a smooth finish.
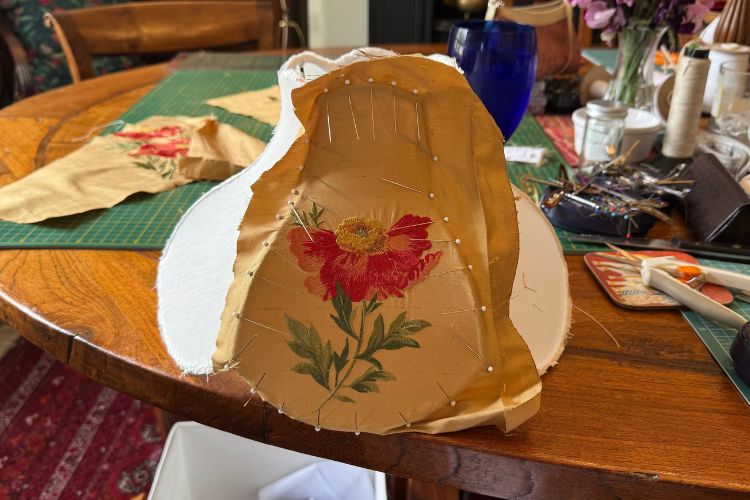
As there would be no balloon lining, tana lawn would be first stitched to each panel. The order of panels to be stitched and tension required, also another important element of the process. Then on to thinking about the face fabric. I had already selected an array of suitable fabric for this project. Fabric weight, texture and density is crucial to the design. For anyone wanting to attend this workshop who has not worked with me before I do suggest a chat about fabric suitability.
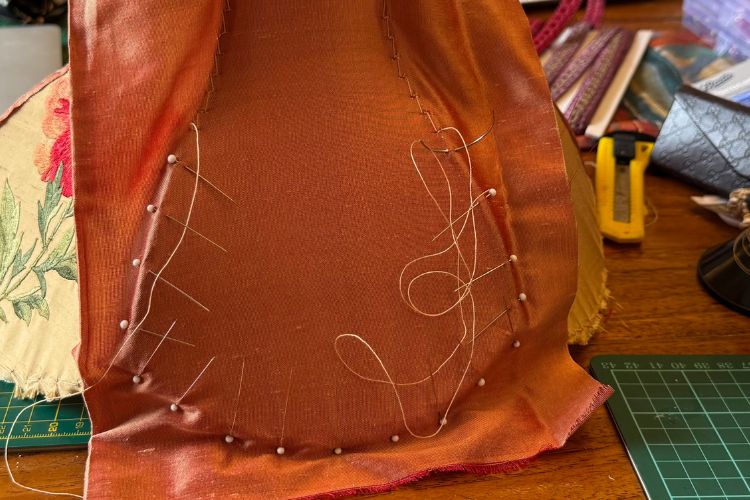
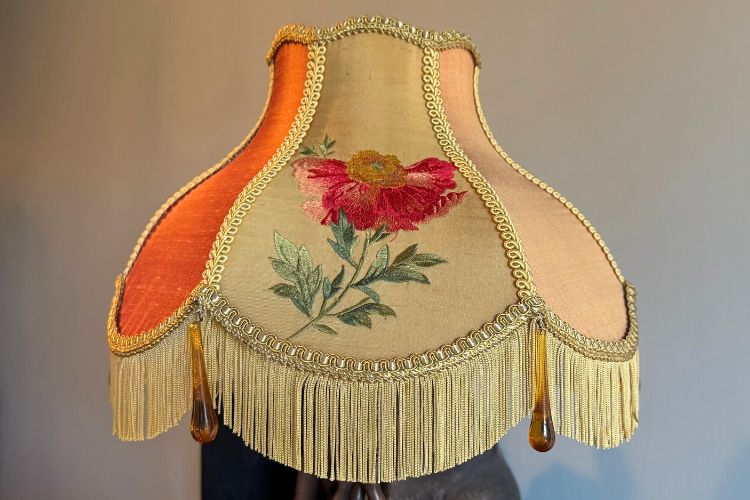
This particular frame has 6 panels. Wanted to use 2 fabrics alternating through the panels. I decided on the red and gold embroidered silk first. This is vintage fabric that I was gifted a while back. It’s stunning. Used to be a set of curtains that have been badly light damaged to one side. However much of the fabric is in perfect condition. I had it in mind for a blind and some scatter cushions. However, there will still be plenty for 3 panels of a Victorian lampshade.
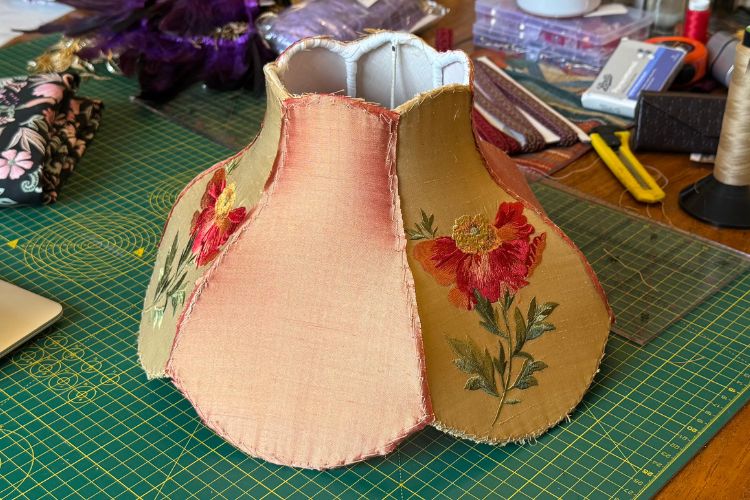
Laying the fabric out carefully I selected a particular section of the rose pattern and the cut 3 identical sections so that I could get an exact repeat on each panel. Now for the contract. After a decent rummage through my stash of fabric I selected half a dozen of contenders. Not wanting to make a decision too quicky I left them all on the workroom table with the embroidered red and gold silk, and went to get on with life. Every so often I would pop into the workroom and see how the fabrics looked as the light changed. The fabric that kept catching my eye was a burnt orange silk that perfectly picked up the colour of detail in the embroidered roses. That was the one!

I tailored each panel to the frame. Tailoring is a classic technique in Victorian lampshades. Using one technique on all panels allows for a level 1 success. Tailoring also gives oodles of design possibilities depending on what fabric is chosen and how the fabric is used on the different panels. Therefore, using this technique means that one frame can have various deign options. For more ideas check out the student gallery on this website.
Once all the panels are tailored into place it’s time to adorn the lampshade. I chose a combination of gimp, fringing and some large vintage beads. This really is the fun part. And using glamourous trimmings really does give your Victorian lampshade the WOW factor. Once the trimming was attached my lampshade is complete.
Want to have a go? Do come and join us …
Workshop Dates
Jacqueline runs 2-day, bespoke handmade lampshade workshops at scheduled times throughout the year. You can also join a 1-2-1, 2 or 3 day master class by special arrangment. Do come and join us!