
Top Tips
Cute gathered lampshades are relaxed, informal and very easy to make once you know how. So much in vogue today, these shades are great for adding pops of colour to both formal and relaxed room schemes.

Top Tips
Cute gathered and lampshades are relaxed, informal and very easy to make once you know how. So much in vogue today, these shades are great for adding pops of colour to both formal and relaxed room schemes.
Gathered lampshades are best suited to small and medium proportions. However, having said that, I have was commissioned to restore a pair of huge shades that were absolutley gorgeous. They did adoen a particuarly large bay window. Gathered lampshades are so easy to make once you know how and only a little hand sewing is required, so you don’t even need to use a sewing machine.
The main purpose of this blog is to serve as a handy reminder of top tips for students who’ve already taken part in one of my workshops. It isn’t intended to replace the experience of learning in person—writing a full step-by-step guide would take an entire book! Still, I hope you find it helpful, whether you’re refreshing your memory from a previous workshop, considering signing up for one, or simply interested in the process of crafting bespoke, handmade lampshades. Enjoy!

What Fabric Should I Use?
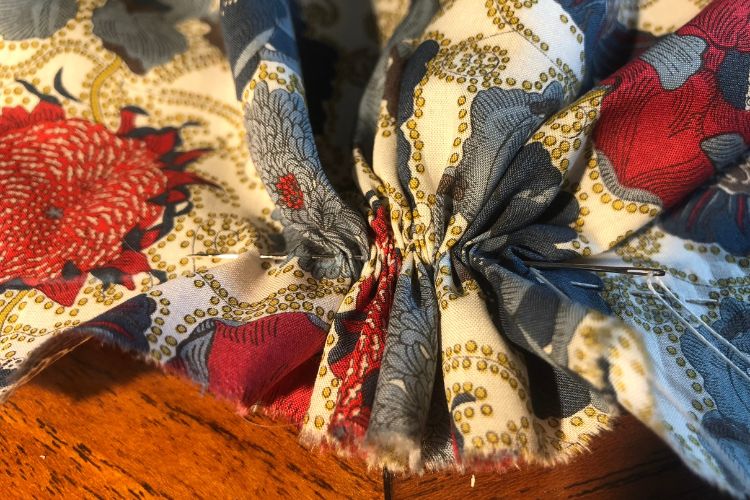
There are oodles of fabric choices but lightweight is key. Silk saris are very popular as are block print ikats and, of course all things vintage. Cotton lawn, voile and lightweight silks also work a dream. Experiment with patterns, as the gathers change the overall look of fabric designs in amazing ways. For more ideas on best fabric to use for gathered Lampshades, check out this video:
How much fabric do I need?
Fabric for making gathered lampshades is cut on the straight of the grain and therefore very economical on fabric quantity. You will need an overall length measuring 10cm more than the depth of your frame and between 2 or 3 times (depending on the bulk of gathers required), the bottom circumference of your frame. This overall length can be made up of multiple strips, 2 or 3, depending on the number of gimbals. Multiple strips do not need to be pre sewn.

How do I get started?
First you’ll need to bind the top and bottom rings with India cotton tape.
Now press your fabric. This will be the last time your fabric gets a press so consequently do take the opportunity to iron out any stubborn creases. After pressing, you’ll need to sew a line of running stitches along the top and bottom edges of each strip. Let us assume this shade has 2 gimbals, therefore we’ll need 2 lengths of fabric. It’s important to use a strong thread. This thread can be removed later. The distance between the lines of stitching should be approximately 5mm above the vertical struts.

Next, cut notches to mark half point and quarter points on both sides of your fabric. Mark half and quater points between the gimbals onto the top and bottom rings of the frame with a soft pencil or fabric marker. Aline the fabric notches to the to the half and quater points pencil marks between the gimbals on the top ring of the frame and secure with pins. Also match all of the notsch points to the bottom ring of the frame and pin.

Pinning & Gathering?
It’s best to work one length of fabric at a time. As this example has 2 gimbals this will equate to half a shade at a time. The fabric should now be pinned to the top and bottom rings, aligning the pins on the fabric with the pencil marks on the frame. It’s important that each pin securely bites into the cotton India tape binding the rings.
Carefully pull the running stitch threads to gather the fabric. Work from both ends and tease the gathers across so that they are even. Lock the threads around each end pin to secure the gathers.
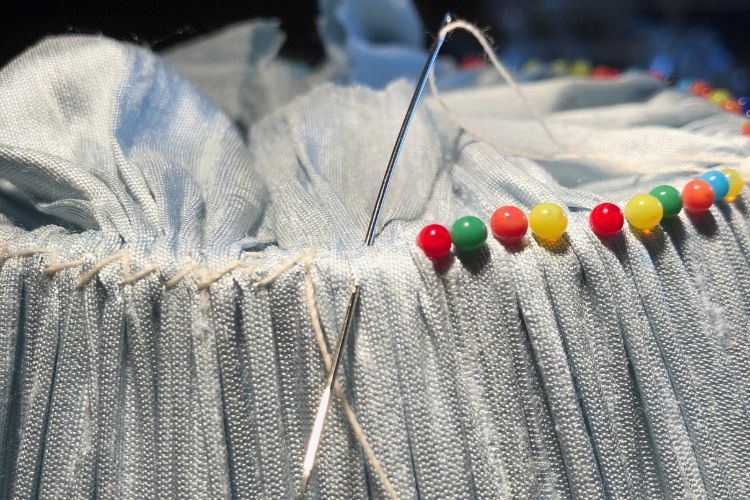
Pins, pins and more pins! This is where you need to have patience and spend time spacing out the gathers to give an evenly ruched appearance. Pin each gather securely in place pulling the fabric taut so that the gathers form neat crisp lines. Starting with the top ring. Turn the lampshade back and forth, spacing gathers and pinning until you are happy with the overall appearance. Once you are happy with the finish, use lampshade stitch and a strong matching thread to attach the gathers to the frame ensuring that your stitches go through all the layers.
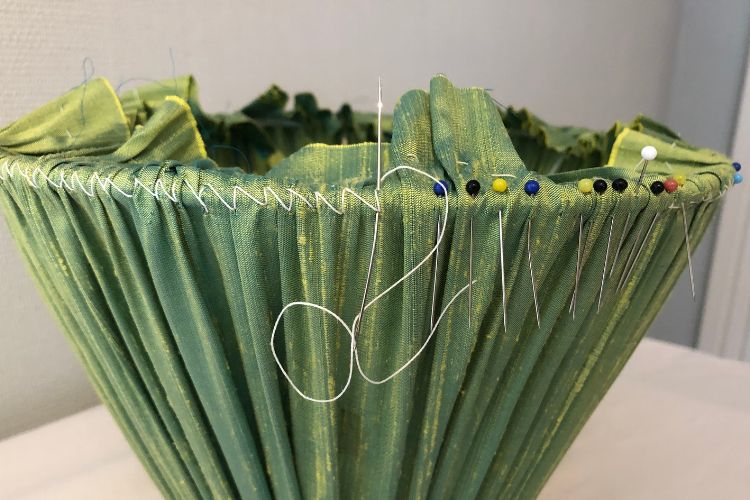
Pins, pins and more pins! This is where you need to have patience and spend time spacing out the gathers to give an evenly ruched appearance. Pin each gather securely in place pulling the fabric taut so that the gathers form neat crisp lines. Starting with the top ring. Turn the lampshade back and forth, spacing gathers and pinning until you are happy with the overall appearance. Once you are happy with the finish, use lampshade stitch and a strong matching thread to attach the gathers to the frame ensuring that your stitches go through all the layers.

Now your lampshade is ready to be lined and trimmed. For lining and trimming Top Tips please refer to the relevant Blog post.
I hope this Blog has been a useful reminder and/or introduction to JSInteriorsUK and the wonderful world of bespoke handmade lampshades. Do stop by reguarly to find out the latest, subscribe to our mailing list and join us on a workshop.
Workshop Dates
Jacqueline runs 2-day, bespoke handmade lampshade workshops at scheduled times throughout the year. You can also join a 1-2-1, 2 or 3 day master class by special arrangment. Do come and join us!